
Measurement technology has come a long way since tape measures and rulers. 3D measurements not only give you accurate information about length, height and width, they also reveal important information about shape and position. If you’re a ship owner this information can save you money, help make sure your equipment is safe and help you make the right decisions first time.
What is 3D measurement and scanning?
3D measurement is a process that is used to capture data about physical objects in 3D – for example their shape and geometry. It is performed by experts with tools that use non-destructive measurement methods, such as laser lights and physical probes, to gather data.
How is 3D measurement and scanning performed?
Measuring a piece of equipment such as a propeller, thruster or engine in 3D space can be done in three ways:
- With a laser, using a physical probe – this is the most accurate method.
- Using 3D scanners covering millions of points on the equipment – this is a compact solution that gives sufficiently accurate results for equipment such as propellers.
- With a scanner that can scan an entire hull or thruster room – this can be done in dock and helps to see if equipment will fit or if piping is in the way, for example.
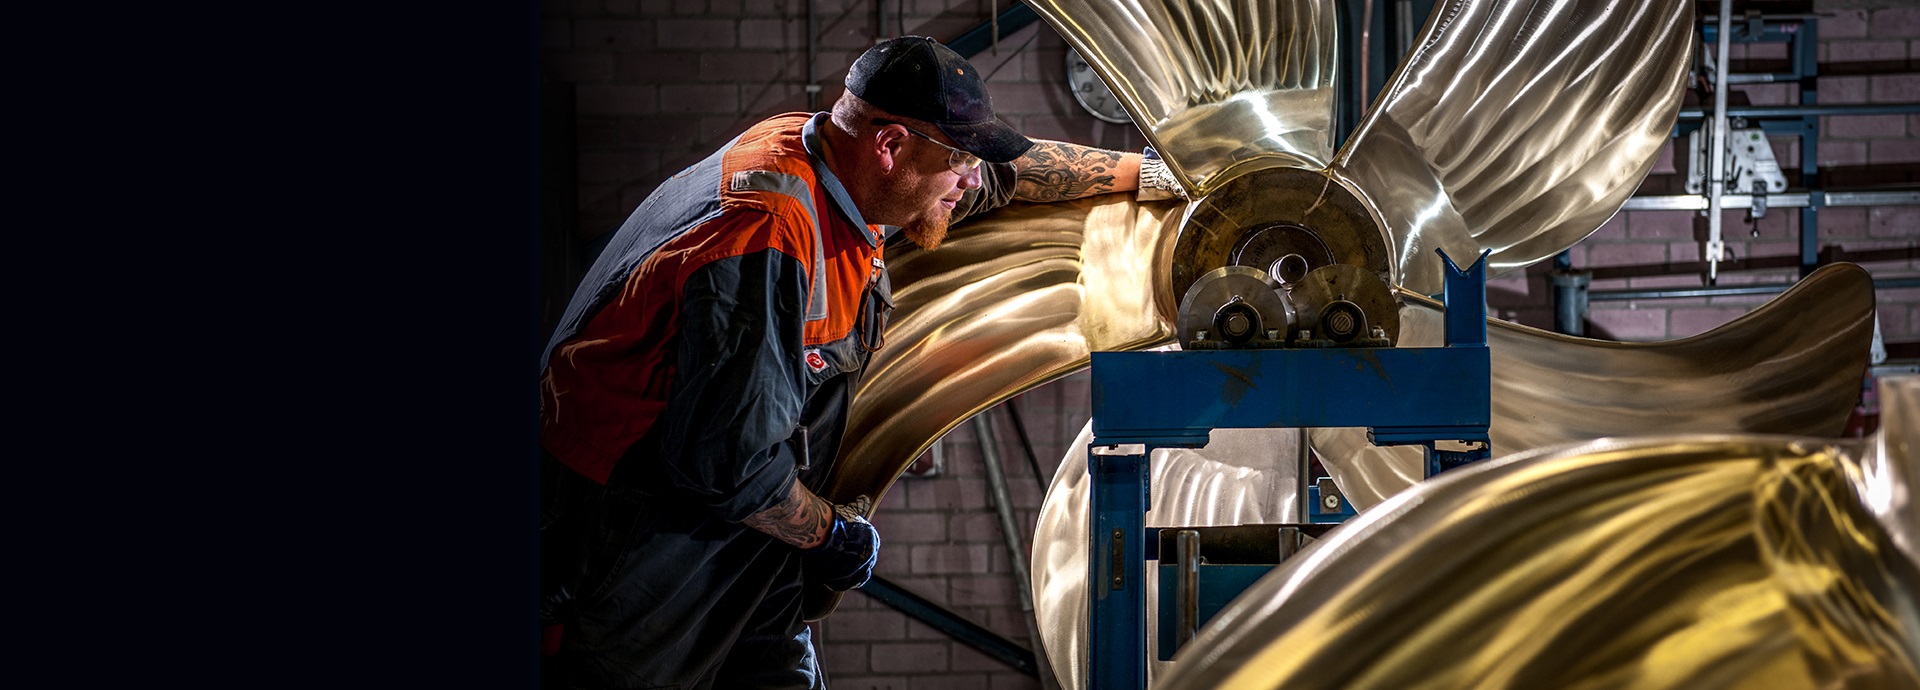
Not all of these measurements require drydocking – for example, a ship’s propeller can be scanned while the vessel is still in the water, saving you both time and money. While traditional 2D measurements can sometimes be quicker and even more accurate, they do not provide information about relative position of objects in a three-dimensional space. 3D measurements can do this, giving you the best possible knowledge of your vessel.
How can 3D measurement and scanning benefit me?
3D measurement and scanning can be used to:
- perform health checks on individual components during an overhaul to verify their condition
- provide data for hydrodynamic modelling, which is used when determining how to optimise your ship’s design or when designing energy saving technologies
- make sure upgrades of complex areas like engine rooms go smoothly, with all new parts fitting first time
Perform equipment health checks
If you’re having problems with your equipment or it has been damaged, you may be wondering if it is still in specification or if it needs new parts. 3D measurement and scanning can be used during maintenance or repair to accurately verify the condition of components.
Get the data you need to optimise your ship’s design or add energy saving technologies
If you want to make your ship’s propulsion system more efficient, having an accurate picture of your equipment can reveal the best way to do this. For example, data from a 3D scan of the propeller can be used by experts to improve its design while also taking into account how it interacts with your ship’s hull.
If you are looking to install an energy saving propeller cap like the Wärtsilä EnergoProFin but your vessel isn’t equipped with a Wärtsilä propeller, a 3D scan can be used to gather the propeller parameters. Wärtsilä then uses this information when designing EnergoProFin to ensure it will fit perfectly first time. The scan can be done while the vessel is afloat, with no need to wait for docking.

How can Wärtsilä help me?
Wärtsilä 3D measurement and scanning services can be delivered anywhere in the world by Wärtsilä personnel or specially vetted data-capture partners. Scanning can be arranged at very short notice – within a day in many cases. The raw data is sent to Wärtsilä for analysis and compared with quality information, tolerances, 3D models and engineering data to see where the actual measurements differ from what would be optimal. Scanning and measurements are extremely accurate – within 20 microns – and the equipment is calibrated annually by the OEM.
If you think your vessel could benefit from 3D measurement and scanning services, you can learn more about the service at https://www.wartsila.com/services-catalogue/propulsion-services/wartsila-3d-measurement-scanning-services
Did you like this? Subscribe to Insights updates!
Once every six weeks, you will get the top picks – the latest and the greatest pieces – from this Insights channel by email.